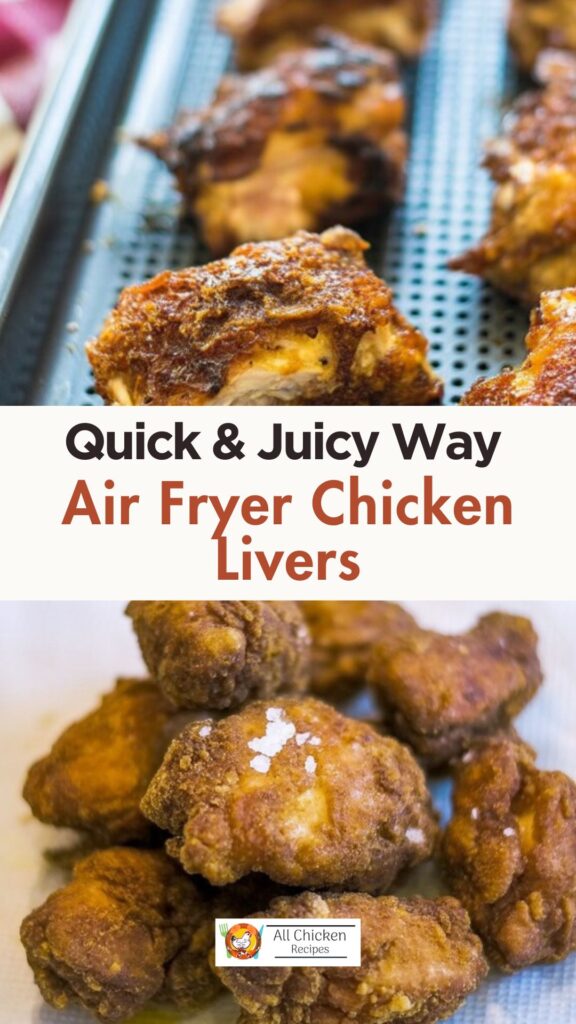
If you grew up in a house where chicken livers were always sizzling in a pan, you know they’re either loved or politely passed on. I was firmly in the “pass” camp as a kid—until I figured out how to make them crisp on the outside, creamy on the inside, and not greasy at all. And now, with the air fryer doing most of the work, this once old-school dish has found a new home in my kitchen.

These air fryer chicken livers come together in just 10 minutes, and they honestly taste like something way more indulgent. Crunchy coating, rich flavor, and barely any oil—what’s not to like?
Why I Keep Coming Back to This Recipe
- No-Fuss Cooking – I’ve done the stovetop frying thing. The popping oil, the cleanup, the whole drama. This is the opposite of that.
- Crispy Without Grease – You get that classic crispy texture without deep-frying. The coating stays light, and the livers cook up buttery inside.
- Dinner in 10 – Seriously. If you’ve got the livers cleaned and ready, you can have them on the table in under 15 minutes. Perfect for those evenings when you need protein but don’t want to think too hard.
What You’ll Need
Here’s a little breakdown of what goes into these air fryer chicken livers and why I use each one:
- Chicken Livers – You’ll usually find these in small white tubs near the chicken section at the store. I always give them a rinse and pat dry before cooking. Liver is packed with nutrients, especially iron—great for days when your energy feels low.
- Flour + Cornstarch – This duo makes magic. The flour gives structure, and the cornstarch helps with crispiness. I usually go with all-purpose flour, but whole wheat works if that’s what you have.
- Onion & Garlic Powder – These are pantry staples that add savory depth without overpowering. You could also toss in paprika or cayenne if you’re feeling bold.
- Milk + Egg – This is your glue. It helps the coating stick and gives a nice golden finish. I’ve also tried this with almond milk when we were out of regular milk—it worked fine.
- Olive Oil Spray – You don’t need much, just a light mist before cooking. Trust me, it makes a difference.
How I Prep Chicken Livers Without the Mess
If it’s your first time working with liver, it’s all about prep. Here’s how I do it:
- Drain and rinse the livers in a colander. I always rinse under cold water to get rid of any residual blood.
- Dry them well. This is key. I lay them on a paper towel-lined plate and gently pat until they stop feeling wet.
- Clean the sink like you would after prepping raw chicken. I wipe it down with hot water and a splash of bleach—just being cautious.
Step-by-Step: How I Air Fry Chicken Livers
This is the method I use for a batch that’s crispy, well-cooked, and not messy at all:
- Mix the Coating – In a bowl, I combine ¼ cup flour + 2 tbsp cornstarch + salt + garlic and onion powder. You can play around with seasonings here.
- Make the Egg Wash – Whisk 1 egg with ½ cup milk (or any milk substitute you like).
- Preheat the Air Fryer – I set it to 390°F and let it run while I coat the livers.
- Dip & Dredge – One by one, dip the livers in the egg wash, then coat them in the flour mixture. Don’t overcrowd your station—things can get messy.
- Spray Lightly – Place the livers in the air fryer basket or tray. Give both sides a quick spray with olive oil.
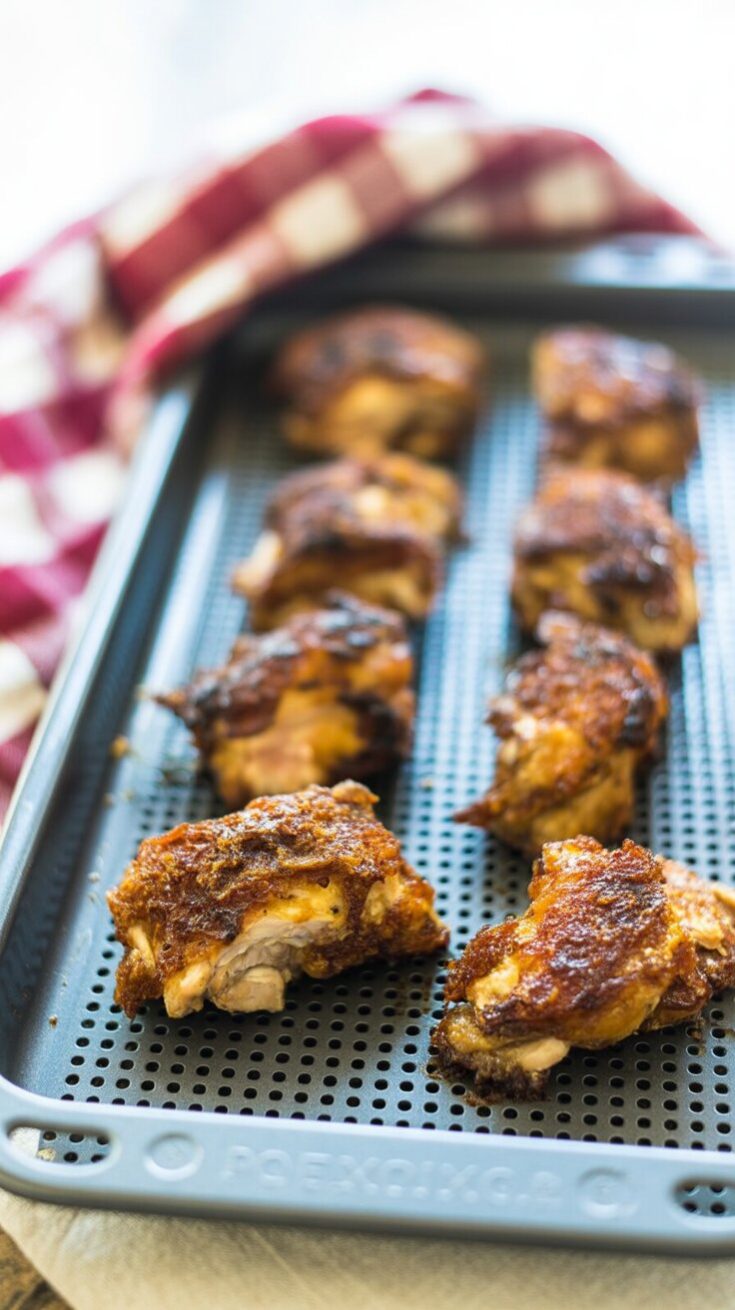
- Air Fry for 10–12 Minutes – Flip them halfway through and spray the other side. They should come out golden and crisp.
Tip: Don’t crowd the tray—air needs room to circulate. If you’re using multiple trays, rotate them halfway. My top tray always cooks faster than the bottom one.
Don’t Skip the Spray!
I’ve tried this recipe both ways—sprayed and unsprayed—and trust me, spraying makes a huge difference. Without it, you’ll get dry patches of flour that don’t brown properly. With just a little oil, the coating turns beautifully golden and the texture is perfect. Think of it like giving them a little help to crisp up.
What Kind of Oil Works Best?
I usually go with a good-quality spray olive oil. You can use a store-bought spray or make your own with a refillable mister. If you haven’t tried one, it’s worth picking up—it’s been a game-changer for air frying and even prepping roasting pans. I keep mine filled with light olive oil and use it almost daily.
Handy Tips from My Kitchen
- Flip & Mist Again – I always flip the livers halfway and give them another spritz of oil. That second mist keeps them crispy instead of drying out.
- Use Similar Sizes – Cut the livers into uniform pieces so they cook evenly.
- Don’t Overcrowd – It’s tempting to toss them all in at once, but leave a little space between each piece.
- Adjust for Your Air Fryer – Every model cooks a little differently. I start checking at the 10-minute mark.
- Flavor Twist – Sometimes I add a splash of hot sauce to the milk mixture. It gives the coating just the tiniest bit of heat—really good if you’re into that.
- Dip ‘Em – These are amazing with hot mustard or even sriracha mayo. Sometimes I just eat them plain, fresh out of the fryer.
- Easy Cleanup – Use air fryer parchment liners or silicone mats. It saves you from scrubbing every nook of the tray later.
Common Questions I Get About Chicken Livers
Are chicken livers actually good for you?
Yes, in moderation. They’re loaded with iron, B vitamins, and protein. If you’re feeling low-energy or iron-deficient, they can help.
Do I really need to soak them in milk first?
For this recipe, no. But if you’re sensitive to the taste of liver, soaking them for an hour or two in milk can help mellow the flavor.
Do I have to rinse them?
I always give them a quick rinse and pat dry. It helps clean off any leftover residue and makes the coating stick better.
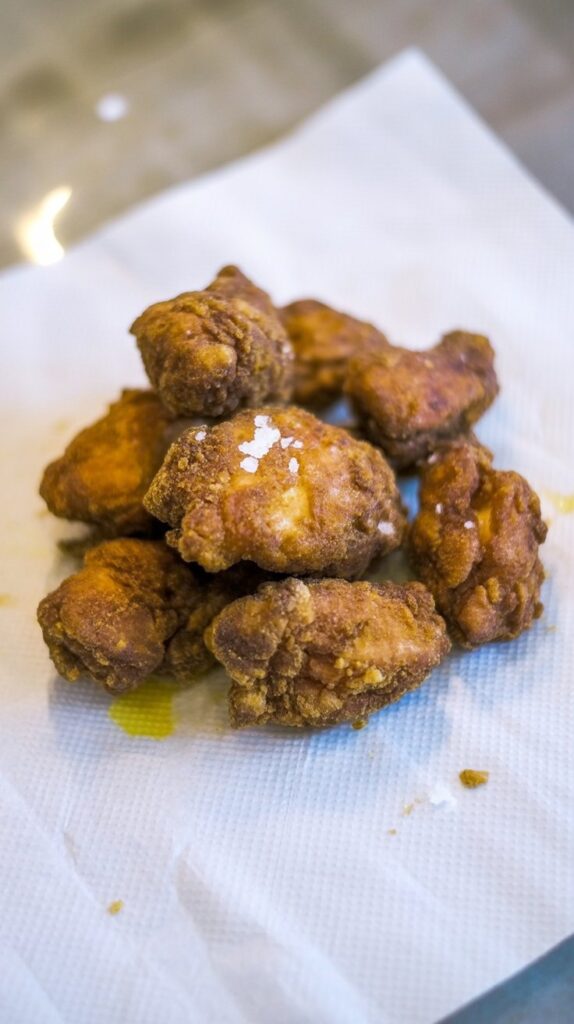
Air Fryer Chicken Livers
Lightly crisped on the outside, tender and rich on the inside — these air fryer chicken livers are a quick and healthier twist on a Southern classic. They’re ready in just 15 minutes with barely any oil, making them perfect for a satisfying snack or easy appetizer.
Ingredients
- ½ cup whole milk
- 1 large egg
- 8 oz chicken livers, rinsed and patted dry
- ¼ cup all-purpose flour
- 2 tablespoons corn-starch
- A dash of garlic powder
- A dash of onion powder
- Olive oil spray
Instructions
- Start by whisking the milk and egg together in a shallow bowl. In another bowl, mix the flour, cornstarch, garlic powder, and onion powder.
- Dip each liver into the milk mixture, then dredge it through the flour blend, making sure it’s nicely coated. Arrange the livers in your air fryer basket or tray in a single layer — avoid crowding to let the air do its crisping magic.
- Spritz the tops lightly with olive oil spray. This helps the coating form a crisp crust without turning soggy or staying dry and powdery.
- Set the air fryer to 390°F and cook for 10 minutes. Flip them halfway through, give another quick spray if needed, and keep an eye on that deep golden brown colour. The internal temp should hit 165°F for perfectly cooked livers.
Notes
- Air fryer models vary, so check a bit early — sometimes even one minute makes a difference.
- Add your favourite seasonings to the flour mix if you want a little kick — try smoked paprika, cayenne, or a seasoned salt blend.
- Skipping the olive oil spray? The coating might stay dry and powdery — just a light mist goes a long way here.
Nutrition Information
Yield
2Serving Size
1Amount Per Serving Calories 411Total Fat 19gSaturated Fat 5gTrans Fat 0gUnsaturated Fat 12gCholesterol 738mgSodium 149mgCarbohydrates 24gFiber 1gSugar 3gProtein 34g
All Chicken Recipes.com, occasionally offers nutritional information for recipes contained on this site. This information is provided as a courtesy and is an estimate only. This information comes from online calculators. Although allchickenrecipes.com attempts to provide accurate nutritional information, these figures are only estimates.
How do I know they’re cooked?
Chicken livers should be cooked to 165°F internally. I like to use a meat thermometer just to be safe. They’ll look firm, not jiggly, and should slice easily with a knife.
Try Other Recipes :