There’s nothing worse than spending time cooking chicken, only to cut into it and find it’s dry as dust. I’ve been there, more times than I care to admit. That’s why, years ago, I set out to find a way to make chicken breasts that come out tender, juicy, and flavorful every single time.

This skillet method is the one I keep coming back to. It’s quick, doesn’t require fancy equipment, and works for both weeknight dinners and meal prep. The best part? You probably already have everything you need to make it happen.
Why This Method Works Every Time
The magic is in using a lid. Once the chicken is browned, I drop the heat, add a splash of liquid, and cover it. This traps the steam and keeps the inside moist while still giving you that golden-brown outside. It’s the perfect balance between searing and gentle cooking.
I learned the hard way that cranking the heat the whole time only leads to chicken that’s burnt on the outside and dry in the middle. This method is the opposite — tender all the way through, with just the right amount of crust.
Ingredients You’ll Need
- Chicken breasts – Boneless, skinless. If they’re thick, I give them a quick pounding with a mallet or rolling pin so they cook evenly.
- Oil – I use avocado oil for its high smoke point, but olive oil or canola work too.
- Seasoning – My go-to is chili powder, garlic powder, onion powder, smoked paprika, and black pepper. You can swap in Cajun seasoning, steak seasoning, or even just salt and pepper if you’re keeping it simple.
- Splash of liquid – Water works fine, but chicken stock or white wine adds extra flavor.

Step-by-Step – How I Cook Juicy Chicken Breasts
- Prep the chicken – Pat dry and season generously on both sides.
- Sear – Heat oil in a skillet over medium-high heat. Lay the chicken down and let it cook undisturbed until the first side is golden brown.
- Flip and steam – Turn the chicken, lower the heat to low, and add a splash of liquid. Cover the skillet with a lid or foil.
- Finish gently – Let it cook for 10–15 minutes, until the thickest part reaches 165°F.
- Rest – Transfer to a plate, cover loosely with foil, and let sit for a few minutes so the juices settle back into the meat.
Make-Ahead Tips
- Prep the seasoning blend – Mix your spices in a small jar ahead of time so you can grab and sprinkle when you need it.
- Marinate – If you have time, marinate the chicken for a few hours for an extra flavor boost.
- Batch cook – Make several breasts at once to use in salads, sandwiches, and wraps throughout the week.
Serving Ideas
These chicken breasts are like a blank canvas — here are some of my favorite ways to use them:
- Sliced over a fresh green salad with tahini or ranch dressing.
- Paired with mashed sweet potatoes and roasted Brussels sprouts.
- Chopped into a grain bowl with quinoa, avocado, and roasted veggies.
- Stuffed into a pita with cucumber, tomato, and tzatziki.
Storage and Reheating
- Fridge – Store in an airtight container for up to 4 days.
- Reheat – Warm gently in a covered skillet with a splash of broth to keep it moist.
- Freezer – Wrap individually and freeze for up to 2 months. Thaw in the fridge before reheating.

FAQs
Can I use chicken thighs instead?
Absolutely. Boneless, skinless thighs work beautifully and stay juicy with less effort.
What’s the best skillet for this method?
A cast iron skillet gives great browning, but any heavy-bottomed pan will work.
Do I really need the liquid?
Yes! That splash of water, broth, or wine is what creates the steam that keeps the chicken moist.
How do I keep it from sticking?
Make sure the oil is hot before adding the chicken, and don’t try to flip it too soon — it will release naturally once it’s seared.
Juicy Skillet Chicken Breasts
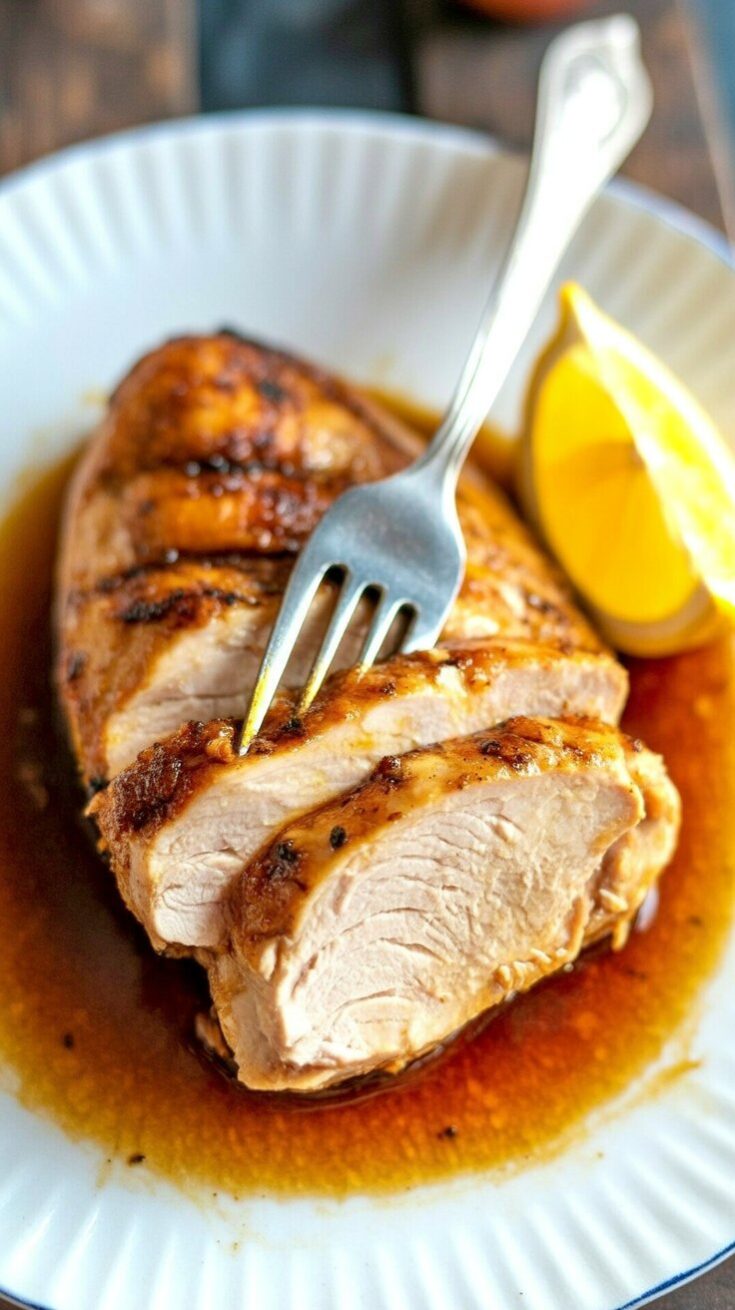
Say goodbye to dry chicken forever! These Juicy Skillet Chicken Breasts are perfectly seasoned, pan-seared to golden perfection, and finished gently in their own steam for the most tender, flavorful bite every time.
Ingredients
- 1 tablespoon avocado oil or other high-heat cooking oil
- 1½ pounds boneless, skinless chicken breasts
- 1 teaspoon garlic powder
- 1 teaspoon chili powder
- 1 teaspoon onion powder
- ½ teaspoon smoked paprika
- ½ teaspoon ground black pepper
- Salt, to taste
- ½ lemon, quartered (optional, for serving)
Instructions
- Pat the chicken breasts dry and season both sides lightly with salt. In a small dish, combine the chili powder, garlic powder, onion powder, smoked paprika, and black pepper to create a flavorful rub. Coat the chicken evenly with the spice mixture.
- Heat the oil in a large skillet over medium-high heat until shimmering. Place the chicken in the skillet and cook, uncovered, for 2–3 minutes on each side until a golden crust forms. Reduce the heat to low, add a splash of water or broth, and cover the skillet with a lid (or foil if you don’t have a lid).
- Let the chicken cook gently for 10–15 minutes, until it reaches 165°F in the thickest part. Transfer to a plate, loosely tent with foil, and rest for 5 minutes before slicing. Serve warm, with pan juices spooned over the top and lemon wedges on the side for a bright finish.
Notes
- For extra flavor, swap water with chicken broth during steaming.
- Works well with both thick and thin breasts—just adjust the cooking time accordingly.
- Leftovers are perfect for salads, sandwiches, or wraps.
Nutrition Information
Yield
4Serving Size
1Amount Per Serving Calories 353Total Fat 13gSaturated Fat 2gTrans Fat 0gUnsaturated Fat 10gCholesterol 145mgSodium 292mgCarbohydrates 3gFiber 1gSugar 0gProtein 53g
All Chicken Recipes.com, occasionally offers nutritional information for recipes contained on this site. This information is provided as a courtesy and is an estimate only. This information comes from online calculators. Although allchickenrecipes.com attempts to provide accurate nutritional information, these figures are only estimates.
Final Thought
This juicy skillet chicken breast recipe is one of those “back pocket” meals I can make on autopilot. It’s simple, dependable, and endlessly versatile — perfect for busy nights or when I need a protein base for meal prep. Once you try it, I think it’ll earn a permanent spot in your kitchen too.