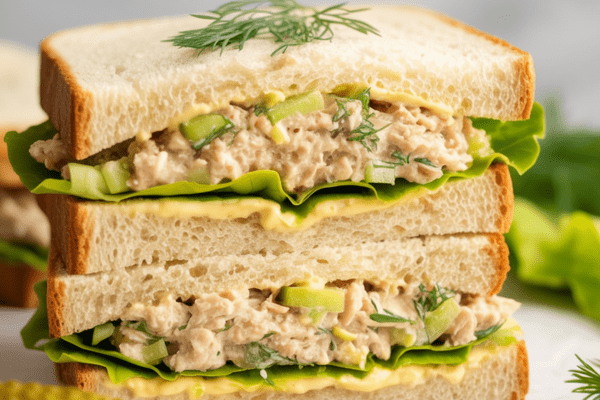
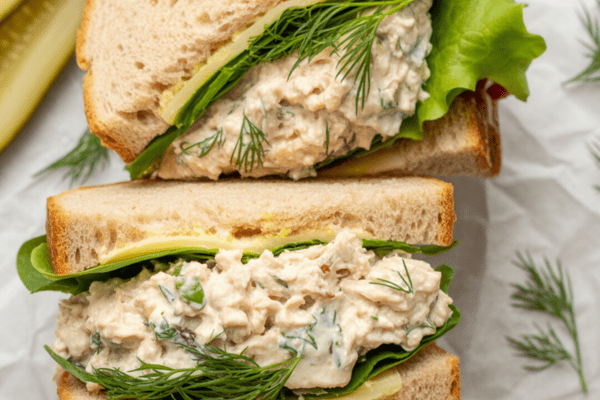
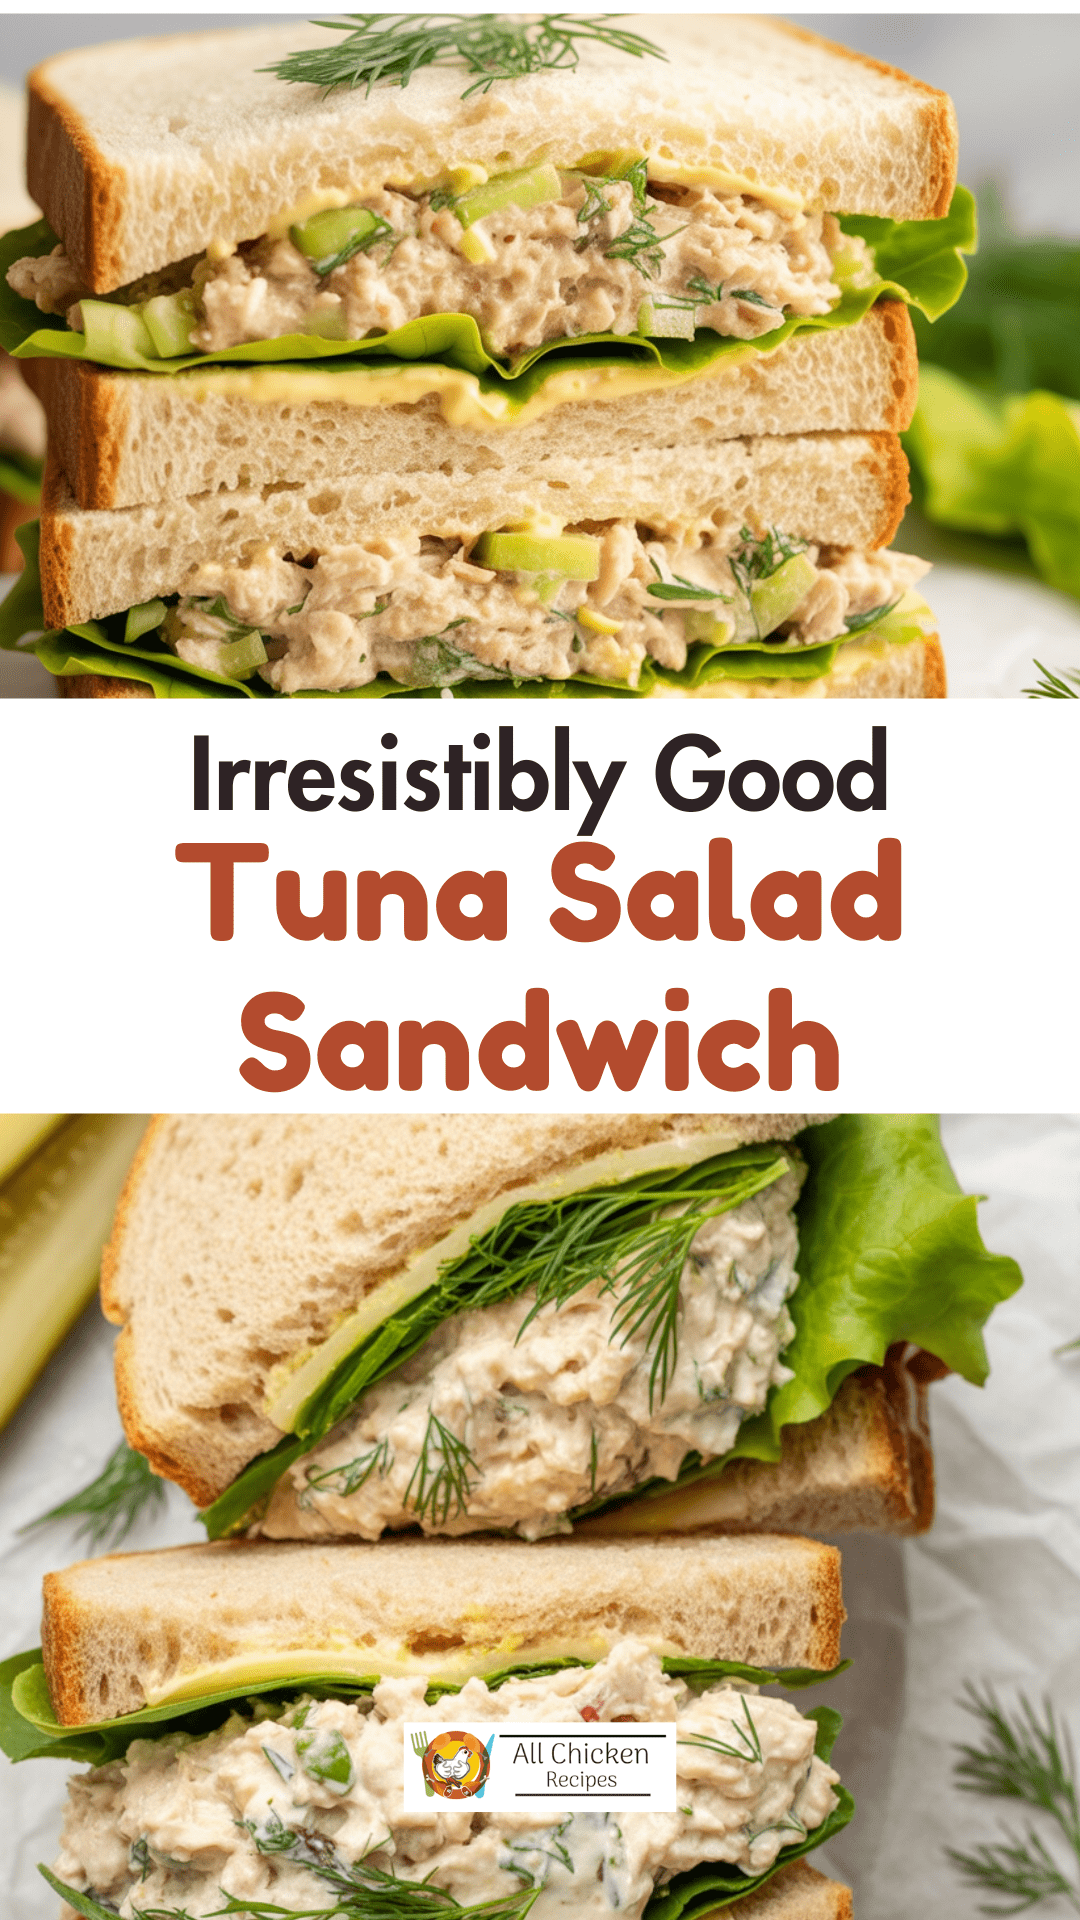
If you’ve ever been let down by a limp, soggy, too-much-mayo tuna sandwich from a store or cafeteria, you’re not alone. Honestly, I stopped buying them ages ago. Nothing beats the comfort of making a fresh one at home, where you know exactly what’s going in.

This tuna sandwich is a regular in my kitchen—full of zingy pickle flavor, herby dill, crunchy celery, and creamy mayo. It’s simple enough for a rushed lunch, but tasty enough that I sometimes make extra just to eat the filling as a dip with crackers.
Why I Make This at Home
I used to avoid tuna sandwiches after too many disappointing ones in college cafeterias. The bread would be soggy, and the filling was often bland or way too fishy. Eventually I realized the problem wasn’t the idea of a tuna sandwich—it was how carelessly it was made.
Once I started playing with ingredients at home, it became a whole new experience. Now it’s a staple, especially on busy weekdays. It’s quick, filling, and budget-friendly. When I’m short on time, I just mix up the filling in advance and it’s ready to go for days.
Ingredients That Make It Special
Here’s how I like to build flavor and texture in my tuna sandwich filling. Nothing fancy, just thoughtful choices.
- Tuna in Oil: Always my first pick. It’s richer and more flavorful than water-packed tuna. If you can get it in olive oil, that’s even better. But I’ve used water-packed plenty of times—it’s fine if that’s what’s in the pantry.
- Mayo: I prefer whole-egg mayo because it’s smooth and not too sweet. Kewpie is a great splurge if I have it. I don’t skimp here—good mayo holds everything together and gives it that creamy texture without drowning the tuna.
- Pickles and Pickle Juice: This is my favorite trick. The brine adds such a bright, tangy kick that balances the richness of the tuna. I use regular dill pickles, chopped finely, plus a splash of the juice. It wakes up the whole mixture.
- Celery: Crunch is a must. Without it, the filling feels too mushy. I mince it pretty small so it blends well but still adds that snap.
- Green Onion: Fresh, mild bite. I use the green and white parts. If I’m out, a little red onion does the trick, but I’ll soak it in water briefly to take the edge off.
- Dill: This herb makes it taste fresh and summery. Sometimes I’ll swap in chopped parsley or basil if that’s what I have.
- Bread: Honestly? Regular sandwich bread is what I use most days. I grew up on it. But it’s just as good on a crusty roll or toasted sourdough if you want to make it special.
- Lettuce: Besides freshness, it’s a smart barrier to keep the bread from going soggy. I always layer it on both slices if I’m packing sandwiches to go.

How I Make It
This is as simple as lunch prep gets. No cooking, just mixing.
- Drain the Tuna: I usually let it sit in a fine-mesh strainer for a minute. I don’t want too much extra oil or water in the filling.
- Mix Everything: In a bowl, I combine the tuna, mayo, chopped pickles, a splash of pickle juice, minced celery, green onion, and dill. I mash it a bit with a spoon to break up the chunks. It gets almost spreadable, which I love—it sticks nicely to the bread.
- Assemble: Butter the bread lightly if you want extra moisture barrier. Add lettuce to both sides, then pile on the tuna filling. Cut in halves or quarters if that’s how you like it.
Honestly, there’s no wrong way to do it. Some days I make thick, overstuffed sandwiches. Other days, I spread it thin and add extra lettuce and sliced tomato.
Practical Tips and Tricks
- Bread Sogginess: If you’re packing these for work or school, always layer lettuce on both sides. I’ve even used spinach or cabbage leaves in a pinch.
- Mayo Level: Adjust to taste. If I’m making it for kids, I go easy on the pickle juice and use a little more mayo to keep it mild.
- Pickle Type: I’m partial to classic dill, but I’ve used homemade pickles, spicy ones, even bread-and-butter in a pinch. It’s your sandwich.
- Texture: Don’t be afraid to really mash it. The more cohesive it is, the less it falls out of the sandwich when you take a bite.
Make-Ahead Notes
I often prep the filling on Sunday night for easy lunches all week.
- Filling Storage: In an airtight container, it lasts about 3 days comfortably. I’ve stretched it to 5 with really tight-sealing containers, but I try to use it sooner for best taste.
- Assembled Sandwiches: Best the day they’re made. If I really need to make them ahead, I double up the lettuce to protect the bread. Those keep reasonably well until lunch the next day.
Serving Ideas
It’s not just a sandwich filler.
- Dip for Crackers or Veggies: I sometimes set out extra as a snack. Works great with celery sticks, bell pepper strips, or sturdy crackers.
- Wraps: Spread it in a tortilla with lettuce, tomato, and maybe some shredded cheese for an easy wrap.
- Open-Faced Toast: Good on toasted sourdough with extra dill on top.
- Salad Topping: A scoop over mixed greens turns this into a quick salad lunch.
How I Store Leftovers
- In the Fridge: Always in an airtight container. I like glass because it seems to keep things fresher.
- Sandwiches for Later: I wrap them tightly in parchment or foil if I’m taking them on the go.
- Extra Filling: Sometimes I make a big batch and freeze half. It’s not quite as good after thawing (a bit watery), but if you drain and stir it, it’s serviceable for emergency lunches.

Common Questions
Can I use tuna in water?
Yes, I have many times. Just add a little extra mayo or olive oil for richness.
What if I don’t have dill?
Use parsley, basil, or even dried Italian herbs. It’s very flexible.
Can I make it lighter?
I often use half mayo and half plain yogurt for a tangy, lighter version.
What bread works best?
Anything you love. I often just use plain white sandwich bread, but whole grain, rye, or even a crusty baguette all work beautifully.
Tuna Salad Sandwich

This is my go-to take on a classic tuna sandwich—rich tuna packed in oil, briny pickle juice for that extra tang, crunchy celery, a good hit of dill, green onion for freshness, and a bit of Dijon to tie it all together.
Ingredients
Tuna sandwich filling:
- 425g/15oz canned tuna in oil, drained
- 3 tbsp finely chopped dill (or parsley or basil)
- 1/3 cup finely sliced green onion, about 2 stems
- 5 tbsp finely chopped dill pickle
- 2 tbsp liquid from pickle jar
- 2 tbsp Dijon mustard
- 3/4 cup whole egg mayonnaise or Kewpie
- 3/4 cup finely diced celery (1 stalk, cut in 4 lengthways, then finely diced)
- 1/2 tsp black pepper
For sandwiches:
- 8 pieces butter lettuce (2 per sandwich)
- Salted butter for spreading
- 8 slices bread or 4 rolls
Instructions
- Scoop all of the tuna filling ingredients into a large bowl and mix thoroughly with a spoon.
- Break the tuna apart until it’s pretty smooth and let the celery and pickles get slightly crushed so the flavors really blend.
- Once you’ve got a nice, cohesive filling, spread butter on your bread or rolls, layer in two pieces of lettuce per sandwich, and generously add the tuna mix.
- Make as many sandwiches as your bread size allows, then dig in.
Notes
- Tuna packed in oil gives a richer, tastier result than water-packed, but you can absolutely use what you have on hand—even canned salmon works well. Whole egg mayo has a smoother, less vinegary taste than the regular stuff (I usually keep Hellmans, S&W, or Kewpie in the fridge).
- For pickles, I stick with standard dill varieties, but honestly, use whatever pickles you love. If you don’t have green onion, swap in finely minced eschallots or a quarter cup of red onion.
- Any bread will do—from plain white slices to fancy bakery loaves. The filling stays good in the fridge for about three days in a sealed container (just stir if it gets watery). Assembled sandwiches are best fresh, but if you want to make them ahead, a lettuce layer on each bread slice helps keep things from getting soggy.
Nutrition Information
Yield
6Serving Size
1Amount Per Serving Calories 515Total Fat 31gSaturated Fat 6gTrans Fat 0gUnsaturated Fat 24gCholesterol 29mgSodium 1020mgCarbohydrates 31gFiber 3gSugar 3gProtein 27g
All Chicken Recipes.com, occasionally offers nutritional information for recipes contained on this site. This information is provided as a courtesy and is an estimate only. This information comes from online calculators. Although allchickenrecipes.com attempts to provide accurate nutritional information, these figures are only estimates.
