There’s something deeply satisfying about biting into a homemade burger, especially when it’s hugged by a soft, golden sourdough bun you made yourself. For me, sourdough buns aren’t just a summer BBQ essential—they’re a year-round staple for sandwiches, sliders, and lazy weekend brunches with a fried egg and leftover curry (yes, try it). These buns have a gentle tang, pillowy softness, and just enough chew to hold up against juicy fillings without falling apart.

We started making these when we were swimming in fresh tomatoes from the garden, and now they’re part of every outdoor get-together. Once you taste these, it’s hard to go back to store-bought.
Why I Love Sourdough Buns (And You Will Too)
Sourdough isn’t just a fad—it’s a return to the kind of bread our great-grandparents made. It transforms simple ingredients into something much more nourishing and flavorful.
I often get questions about phytic acid and grain digestion, and here’s the deal: sourdough fermentation breaks down those hard-to-digest compounds and unlocks nutrients that are otherwise trapped. So not only are you getting a better bun in terms of texture and flavor, but your body also gets more out of it. Win-win.
And the best part? These buns freeze beautifully. I usually make a double batch and freeze half so we always have some ready when the craving strikes.
Handy Tips Before You Start
- Let the dough ferment overnight for full sourdough benefits and a deeper flavor. But if you’re in a rush, I’ve included a quick method below.
- A fed, active starter is key. Feed yours 4–12 hours ahead so it’s nice and bubbly.
- Don’t skip the egg wash if you want that gorgeous golden top. I sometimes brush mine with milk if we’re out of eggs—still works great!
- Want to go dairy-free? Coconut oil makes a great substitute for butter here.
Sourdough Hamburger Bun Ingredients
Here’s what you’ll need for a batch of 8 buns:
- ½ cup active sourdough starter (bubbly and fed)
- ¾ cup warm water (not hot—just warm to the touch)
- 3 cups all-purpose flour (or do half whole wheat for more texture)
- ¼ cup melted coconut oil or butter
- 3 tablespoons honey (or maple syrup if that’s what you’ve got)
- 1 teaspoon salt
- 1 egg
Optional for topping:
- 1 egg yolk + 1 tbsp water (for the egg wash)
- Sesame seeds for sprinkling

Let’s Make It: My Go-To Two-Day Sourdough Bun Routine
Day 1: Mix and Ferment
- In a stand mixer with a dough hook, combine starter, water, flour, melted butter/coconut oil, honey, salt, and egg.
- Knead on medium for about 5–10 minutes until smooth and elastic. You can do this by hand too—just a bit of a workout!
- Transfer to a greased bowl and cover. Let it rest for 8 hours at room temp.
- Once doubled, pop the bowl in the fridge overnight. This slow fermentation deepens the flavor and makes the dough easier to shape the next day.
Day 2: Shape, Rise, and Bake
- Divide the dough into 8 equal pieces.
- Shape into buns by tucking the edges under and creating surface tension on top.
- Place on a parchment-lined baking sheet, cover, and let rise until doubled—usually 1–2 hours depending on the room temperature.
- Preheat your oven to 350°F (180°C).
- If using egg wash, beat the yolk with water and gently brush over each bun. Sprinkle with sesame seeds.
- Bake for 25–30 minutes until golden on top.
Let them cool before slicing… or don’t. I’ve definitely burned my fingers trying to eat one fresh out of the oven with a slab of butter.
Quick Version (Because Life Happens)
Need buns the same day? Here’s the speedier route:
- Mix dough as above (starter, water, flour, oil, honey, salt, egg).
- Knead, shape into balls, and place on a lined tray.
- Let rise 1–2 hours until puffy.
- Brush with egg wash or milk, bake at 350°F for 25–30 mins.
They won’t be as complex in flavor, but they’ll still be miles ahead of store-bought.

Storage Tips
Keep leftover buns in an airtight container for 3–4 days. But honestly? I wrap them individually and freeze most of the batch. They thaw beautifully in the toaster oven or wrapped in foil in a warm oven.
Sourdough Hamburger Buns
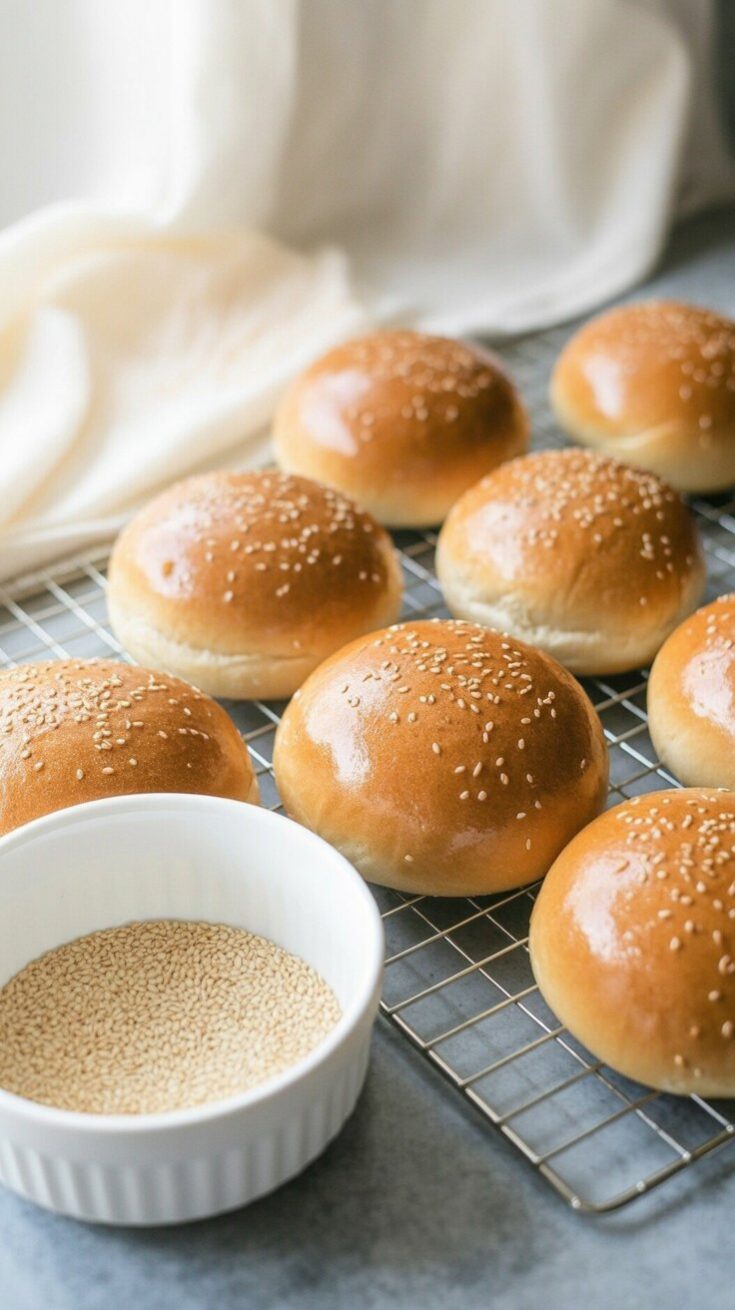
Soft, fluffy, and naturally fermented—these sourdough buns are a go-to for backyard burgers, pulled pork, or any sandwich that deserves a good roll.
Ingredients
- 3 cups all-purpose flour
- 1 egg
- 3/4 cup warm water
- 1/4 cup melted butter or coconut oil
- 1 teaspoon salt
- 1/2 cup bubbly, active sourdough starter
- 3 tablespoons honey
For the egg wash (optional):
- 1 egg yolk
- 1 tablespoon water
- Sesame seeds, for topping (optional)
Instructions
- Start by adding the sourdough starter, warm water, flour, melted butter (or coconut oil), honey, salt, and egg into the bowl of a stand mixer fitted with a dough hook. Let it knead on medium speed for about 5 to 10 minutes, or until the dough becomes smooth and stretchy.
- Once kneaded, transfer the dough into a lightly greased bowl. Cover it with a damp towel or plastic wrap and let it sit at room temperature for around 8 hours.
- After that first rise, pop the covered bowl into the fridge and let the dough cold ferment overnight. This slow rise deepens the flavor and makes the buns extra soft.
- The next day, bring the dough out and divide it into 8 even pieces. To shape, gently roll each portion into a round bun by tucking the sides under and smoothing the top. I like to give them a slight spin on a floured surface to build a bit of surface tension.
- Place the buns on a parchment-lined baking sheet and cover again with a damp towel or plastic wrap. Let them rise until puffy and doubled in size—this can take a couple of hours depending on your kitchen temp.
- Whisk together the egg yolk and water for the egg wash. Lightly brush it over each bun, and if you're into a little crunch and visual flair, sprinkle on some sesame seeds.
- Bake in a preheated 350°F (175°C) oven for 25 to 30 minutes, until the tops turn beautifully golden brown.
Notes
- If you're short on time and don’t want to go through the long fermentation process, you can mix all the ingredients (yes, even the egg), skip the overnight proofing, and let the dough rise until doubled before shaping and baking. They won’t have the same tangy depth, but they’ll still be deliciously fluffy.
Nutrition Information
Yield
8Serving Size
1Amount Per Serving Calories 323Total Fat 11gSaturated Fat 6gTrans Fat 0gUnsaturated Fat 4gCholesterol 62mgSodium 323mgCarbohydrates 49gFiber 2gSugar 7gProtein 8g
All Chicken Recipes.com, occasionally offers nutritional information for recipes contained on this site. This information is provided as a courtesy and is an estimate only. This information comes from online calculators. Although allchickenrecipes.com attempts to provide accurate nutritional information, these figures are only estimates.
Common Questions
How do I shape these buns nicely?
Grab your dough ball, pull and tuck the edges underneath until the top is smooth and tight. Place seam-side down. Don’t stress if they’re not bakery-perfect—rustic looks delicious too.
Why did my buns turn out flat?
It could be under- or over-proofing. Let them rise until puffy, but don’t let them go too long or they’ll collapse. Also, make sure your oven is properly preheated.
Why doesn’t my dough hold its shape?
That’s often from under-kneading or over-fermenting. If it turns gloopy and slack, your dough may be too warm or sat out too long. Try chilling it briefly to bring it back in shape.
What do they taste like?
They’ve got that signature sourdough tang with a soft, almost brioche-like texture from the egg and butter. Slightly sweet, super fluffy, and perfect for burgers or pulled pork.